
Sukkot Decorations
Every year I come up with new ideas on how to decorate a sukkah. This year for the first time I led a group of children, teens, and adults in creating sukkah decorations.
What is a Sukkah?
A sukkah is a temporary structure that Jews eat (and a few sleep) in during the fall holiday of Sukkot. It is topped with natural materials such as branches or bamboo. I enjoy decorating our sukkah. This gives the whole experience an extra hiddur mitzvah (beautification of a good deed).
What Kinds of Decorations?
Living in the Northeast of the U.S., the weather is unpredictable in the early fall. It often rains. So we have to waterproof our decorations as much as possible. To find ideas for decorations, I started looking up: “waterproof loop chains”. Having no success with that search, I soon learned that I should just look up “sukkah decorations”.
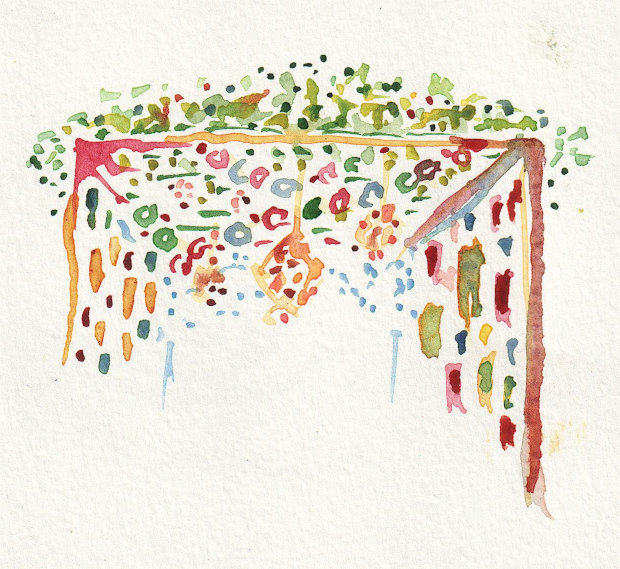
A sukkah has four walls. It also has schach, branches or slats of natural material that cover the top. In my mind, the decorations are divided into wall pictures and top hangings. If you have a solid wall on at least one side, that works for wall pictures.
When I was growing up, we had a canvas sukkah. It was hard to decorate the sides of canvas. So we hung decorations from the top. I have memories of sitting in the kitchen with my mother z”l, stringing cranberries.
In this post I will present different kinds of decorations.
Laminated Pictures
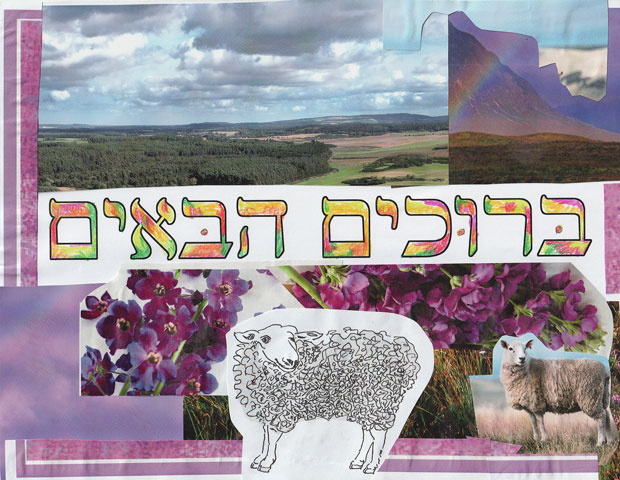
This is a laminated collage that I created with some cutouts and a printed Hebrew bruchim habaim (Welcome). I typed the letters in Hebrew using Gimp, a free software program. The cutouts are all from magazines or old flyers except for the ink sheep. I drew that one a few months ago. I colored in the letters with Derwent colored pencils.
When my children were little, they would bring home all kinds of laminated pictures. Many of these are still hung in our sukkah each year. The walls of our sukkah are covered with laminated pictures.
Pictures can have text, photos, glued cut outs from magazines or drawings. You can use crayons, markers, colored pencil or paint. I like adding new family photos to our sukkah each year. You can use hook and loop adhesives to attach your laminated picture. Hook and loop tape comes in rolls. One side is fuzzy. They easily attach and detach from each other. It makes it easy to re-use the pictures each year. I have bought hook and loop tape in the past on Amazon. This year I bought a few rolls of different sizes from the sewing company called Wawak.
One good idea for a sukkah picture is make a collage. First, take a photo. Then cut all kinds of magazine pieces, construction paper, and pretty papers. Place the photo in the center of a standard 8.5 x 11 printer paper. Create a design around the photo with cut outs. It can be color-themed, look like a sukkah, or just be whatever appeals to you. Once you are happy with the design, glue everything into place. Then run it through the laminator.
Last year I bought a laminator. You can find them on Amazon for not too much money. I used to struggle with clear contact paper to cover photos. A laminator is much easier. You also need to buy special plastic sleeves to enclose your photo or picture. This is a fun craft project for children or for seniors.
Loops and Chains
A traditional sukkah decoration is a long chain of loops. One could make paper loops in a sukkah. However, these are not waterproof. This year we made loops out of colorful plastic cable ties. You can buy colorful plastic ties on Amazon. You can see the loops in the pictures below of the etrog sun catcher and the plastic bottles apple.
Etrog Sun Catchers
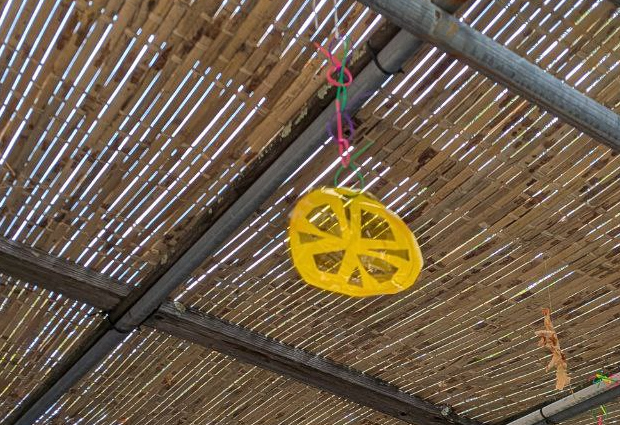
I found a blog post on creating these bright citron sun catchers. You need yellow cellophane (available on Amazon), yellow or orange construction paper, scissors, clear plastic tape, and string. The tricky part is the cutting of the paper. Other than that, I found children of varying ages were able to make these.
Someone in our group used red cellophane to create a big pomegranate. I am thinking next year I will buy purple cellophane so we can make grape sun catchers.
Apples Out of Bottle Bottoms
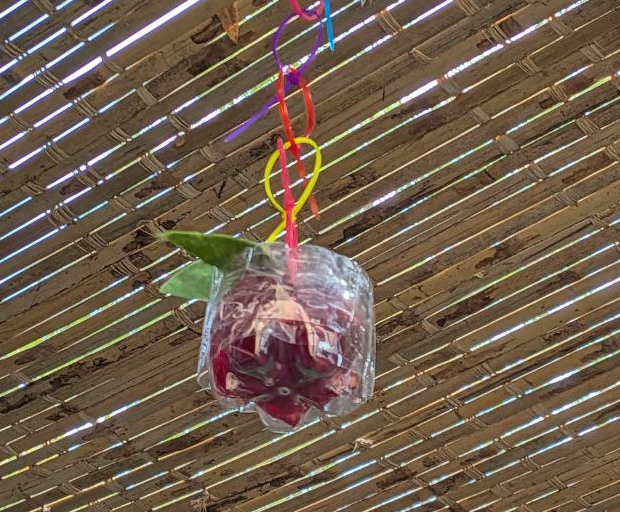
These apples from plastic bottles are a bit challenging to make. Children would need supervision and help to make them. First, you have to collect plastic water bottles with bumpy bottoms and with smoother bottoms. You create the apple by putting one plastic bottle top on the top and the bumpy one on the bottom. You add bits of red cellophane and/or red fabric to the inside. Green leaves go on top. I did the leaves with felt and sewed two leaves together. Then I glued them to the top of the apple. If you want to introduce hand sewing to someone, this is a good project to try. The hardest part is making two holes on the top of the apple in the plastic.
I am hoping to find even more projects to decorate the sukkah for next year.
Happy 5786! Hope you and your family have a happy, sweet new year.
Michael says
Wow! I am so impressed with both your web development artistry (site is easy to navigate especially considering how content-heavy it is) and the creativity of your "Sukkah art" (the etrog sun-catcher and soda-bottle-bottom apple were very creative) -WAIT! are u reading my comment as I type it???? (u just responded "you're too kind" in a DM before i even finished here???? Anyways color me impresseed! :-D
Leora says
Thank you for your kind comment, Michael. Nice to hear from you.
Please leave a comment! I love to hear from you.