Someone asked me: why are you posting yarrow? Is it your favorite flower? No, I responded. My favorite flower, at least for this year, is cosmos.
So why am I posting about yarrow? I realized I am posting in order to learn yarrow’s health benefits. Here are a few:
- Improve digestion
- Accelerate wound healing
- Alleviate colds or the flu with yarrow tea
- Reduce inflammation
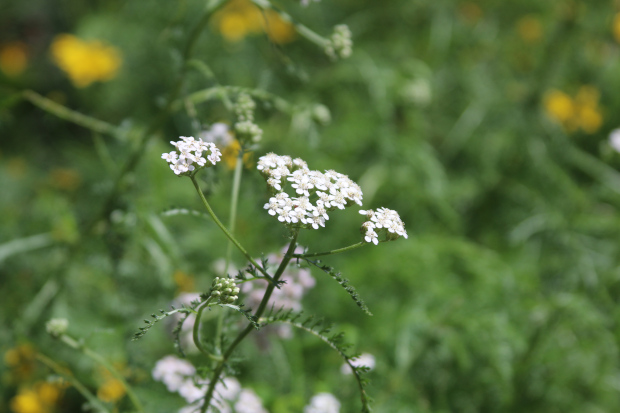
You can learn more about the healing properties of white yarrow (yarrow millefolium) elsewhere.
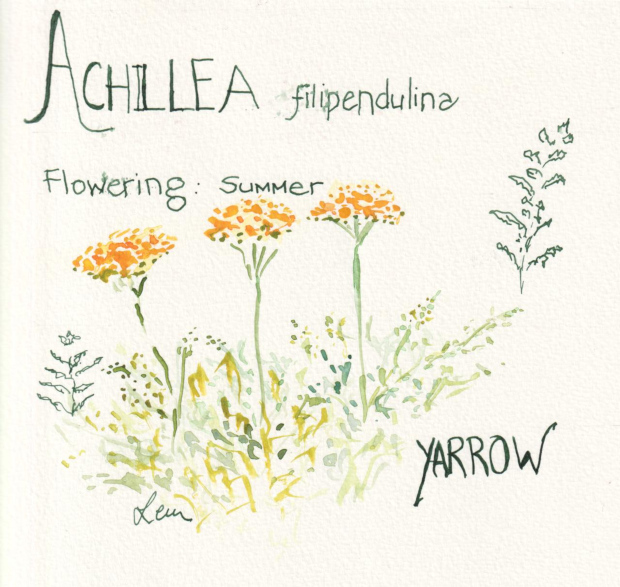
Yarrow comes in a variety of colors. In my backyard I have big yellow yarrow flowers that are currently in bloom in July. In the front of my house I have white yarrow. Yarrows are perennials. The Latin name is Achillea.
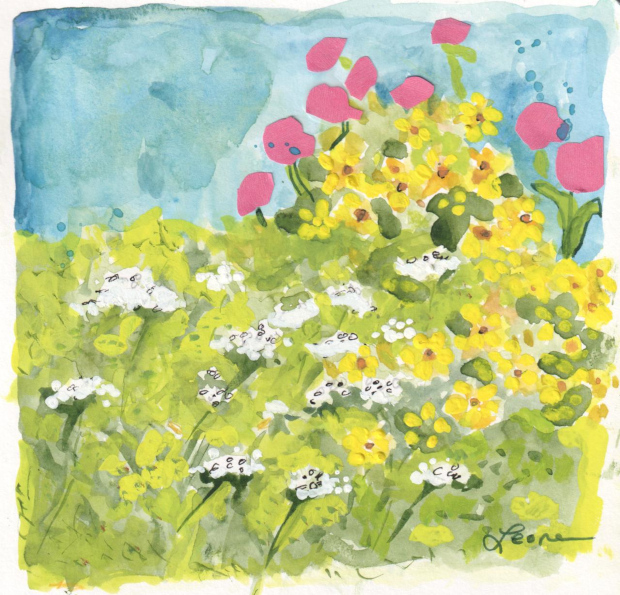
Pictured is achillea millefolium (white yarrow), coreopsis, and lamb’s ear flowers. I painted the illustration with watercolor, gouache, and collage for the bright pink lamb’s ear flowers.
This was going to be a post about rudbeckia or black-eyed susan. However, a deer ate my beautiful yellow flower that miraculously blossomed in front of my house. So I looked for inspiration elsewhere.

Borage is growing in my plant cage. I had the cage built because the deer ate most of my edible plants. This year I am concentrating on growing cucumbers. A good companion to cucumber plants is borage. I originally put three borage seedlings that I bought at the Highland Park Farmers Market in my backyard. However, despite my deer fence in the backyard, something nibbled at the borage. So off it went into the cage.
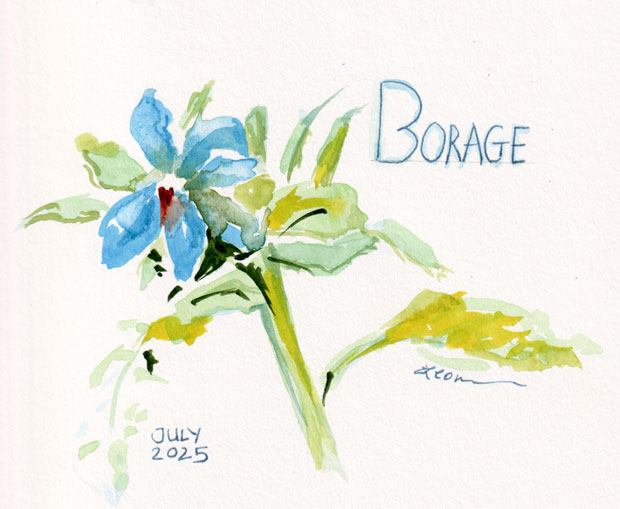
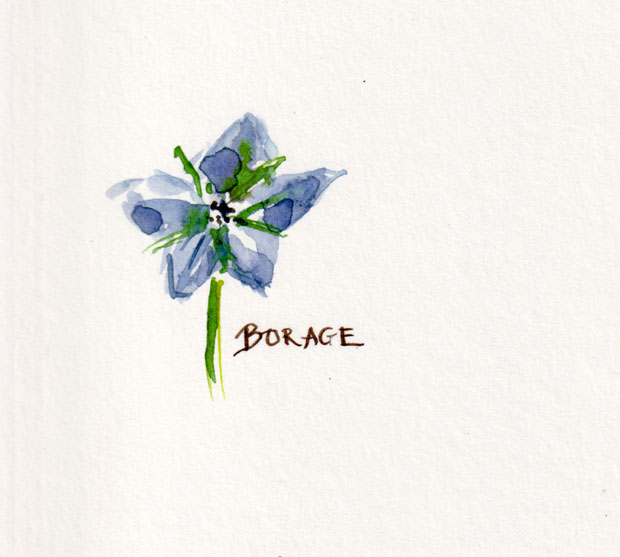
Borage is grown as an annual in New Jersey. It is native to the Mediterranean. Some special notes about borage: you can eat the flowers and the leaves. I have seen the flowers described as cornflower blue or as smoky blue. To me the blue is slightly on the purple side.
I sketched several pages about borage in my sketchbook.
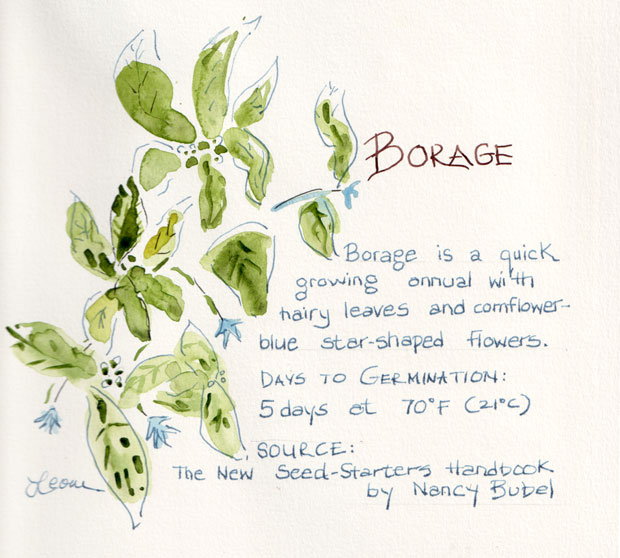
Borage is a quick growing annual with hairy leaves and cornflower-blue star-shaped flowers.
Days to Germination: 5 days at 70° F
Source: The New Seed-Starters Handbook by Nancy Bubel

Magical Elixir Healing Chicken Beef Soup
Are you looking for more energy? Want to serve a delicious and nutritious soup to your family? This magical elixir healing soup is easy to make, and you can freeze any leftovers.
This soup is my version of the meat stock for Stage One of the GAPS diet, a healing diet. Also on Stage 1 are ferments (the juice of the brine, not the vegetables) such as sauerkraut (just sea salt and cabbage).
Ingredients
2-3 lbs. chicken bones
3 beef marrow bones
Filtered water, enough to cover the chicken and beef bones
3 Tbsp. Redmond Real Salt or Celtic Salt
2 small onions
2 carrots, peeled and cut into coin shapes (optional)
2 stalks celery with leaves
1-2 garlic cloves (optional)
2 peppercorns (optional)
3 white turnips, peeled and cut (optional)
Recipe for the soup
Put chicken bones and beef bones in a large pot. Fill water to cover the bones. Add the salt. Cook on medium, then simmer when it comes to a boil. Add the vegetables about 1 hour before serving. Cook for 2-3 hours total.
For more on the GAPS diet, see the blue book called GAPS Diet by Dr. Natasha Campbell-McBride. You can also learn by watching videos in which she is interviewed.
Note: whenever you can, use local produce. Get to know your local farmers.
A lot of people say they cannot draw. My response is: when you were in first grade, did you know algebra? Probably not.
The most important skill in drawing is learning to see. We think we can see, but often we think in symbols instead of actually seeing what is front of us and drawing only what we can see.
Get Started with Drawing
If you want to learn to draw, grab a pen and an old notebook. It doesn’t matter what pen, as long as it is not erasable. Any old notebook will do, even one that is almost filled. The less you care about anything that is already in the notebook, the better. Walk around your neighborhood. Draw whatever you see. Make sure not to show it to anyone. If you care about these first drawings, you probably won’t even get started.
Draw Blind: Learn to See Contours
Now that you have drawn something, it is time to do a little seeing. Set up a simple still life. It could be cups and boxes. It could be onions and apples. It doesn’t matter. Don’t look at your paper, and draw. Don’t cheat, especially the first time. For the next drawing, you can cheat a little and look. Try drawing in a continuous line. Do a third one. How do they look? Drawing without looking at the paper is called blind contours drawing. Drawing the contours of the objects in a scene without lifting your pen much from the paper is called a continuous line drawing.
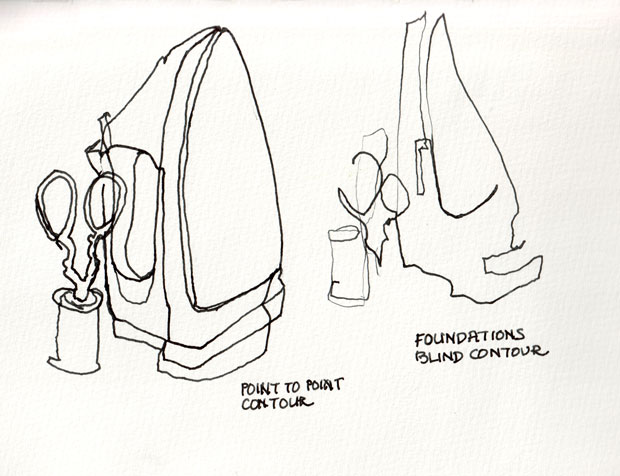
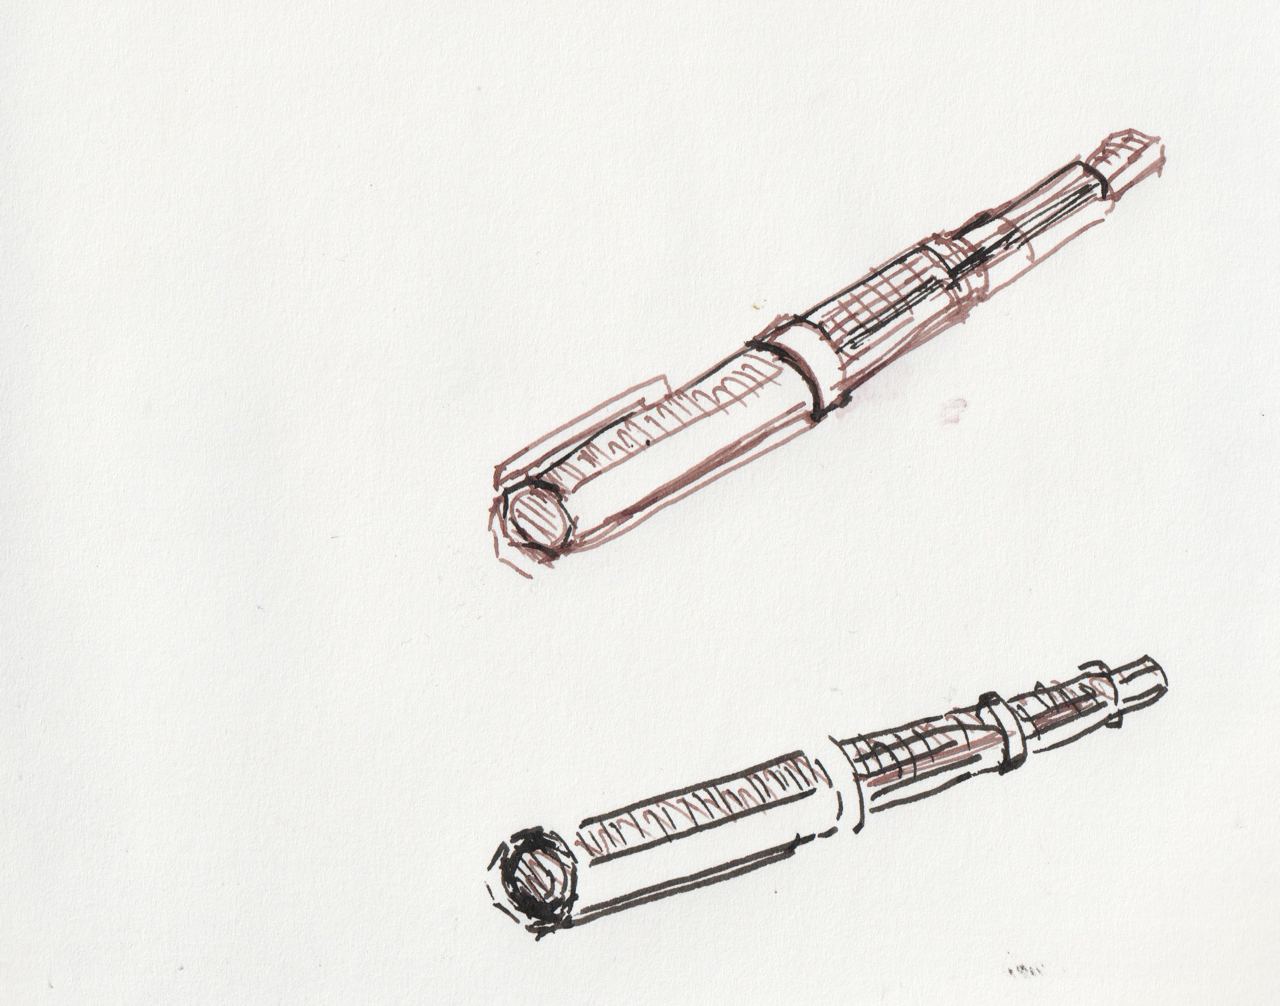
On the left is an example of a continuous line drawing of an iron. On the right is a blind contours drawing of the same iron.
To learn more about contour drawings, you might read the classic The Natural Way to Draw. Here is an excerpt:
Sit close to the object which you intend to draw. Focus your eyes on some point along the contour of the model. (The contour approximates what is usually spoken of as the outline or edge.) Place the point of your pencil on the paper. Imagine that the point is touching the object instead of the paper. Without taking your eyes off the object, wait until your are convinced the pencil is touching that point on the object upon which your eyes are fastened.
Then move your eyes slowly along the contour of the model and move the pencil slowly along the paper… this means that you must draw without looking at the paper.
Source: The Natural Way to Draw by Kimon Nicolaides, p. 9
Practice, Practice, Practice
Keep up with the drawing. Tuck a small sketchbook into your purse or back pack. Leave one in your kitchen or the drawer of your office. Pick a favorite ink pen. I like Uniball pens, but a cheap ballpoint pen can work as well. Draw your keys. Draw a book on the table. Draw the car parked down the street. If the weather is nice, go to the park and draw a tree. Start your drawing anywhere on the page. Spend more time looking at your subject than your paper. Do not erase.
Learn from the Masters
A great way to learn to draw is to copy a painting or illustration of one of the masters. For example, get a book with drawing by Rembrandt. Pick one, and copy it. Then try a totally different artist, maybe Van Gogh. Copy his drawing or painting. This is a great way to learn.
Favorite Drawing Books

Want instruction from some experts? These are some of my favorite drawing books. You can might be able to take them out of your library. You might then decide you want to own one or more of these books.
Everyday Sketching & Drawing by Steven B. Reddy
The Natural Way to Draw by Kimon Nicolaides
Drawing on the Right Side Brain by Betty Edwards
Draw Your World by Samantha Dion Baker
Keys to Drawing by Bert Dodson
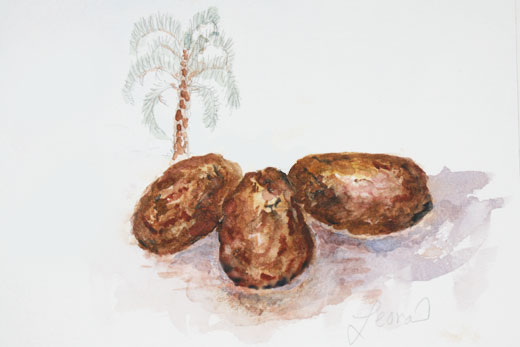
This cookies are not your standard flour and sugar dessert. For sweetener they use dates (more about dates). Instead of flour, I use walnuts. For the fat, I use coconut oil. If you crave sweets, these might be a good way to wean yourself off refined sugar.
Ingredients
– 20 dates (pitted and soaked for at least 1 hour)
– 1 cup of walnuts (soaked 6 hours)
– 4 Tbsp. coconut oil
– 4 tsp. cinnamon
– 4 tsp. ground cloves
– ground ginger or nutmeg (optional)
How to Make the Cookies
Puree dates and walnuts. Add coconut oil, cinnamon, and ground cloves. Form into balls on parchment paper. Push down the balls into cookie shapes. Bake at 350° for about 15-20 minutes.
