fermented

How to Ferment: Sauerkraut, Sour Tomatoes, Kimchi
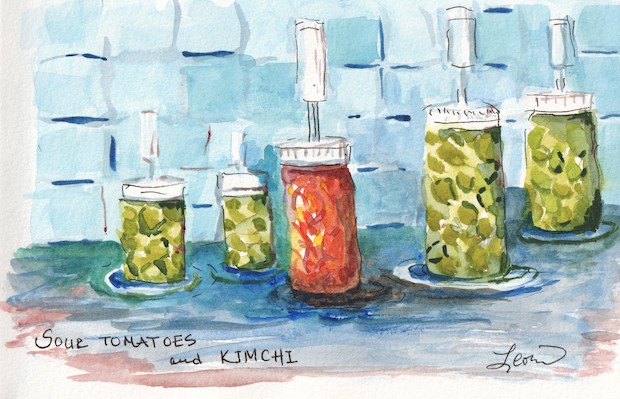
ferments in my kitchen

Sauerkraut

1 head of cabbage, red or green
Save outer leaves. You can also use a horseradish leaf for top layer.

1 tsp. Real Salt (or other sea salt, Do Not Use Table Salt) — in my opinion, just add a spoonful of salt to each bunch of cut up cabbage — no need to measure exactly.

1 mason jar (32 oz. large wide mouth mason jar)
1 glass weight *
Fermentation lid for the top **

Take off and save outer leaves of the cabbage. Cut cabbage into small pieces. Place cut pieces in large ceramic bowl. Sprinkle salt as you cut. Remove from jar and place in large ceramic bowl. Massage the cabbage with a masher or with your hands. Leave it under a weight like a large water bottle and plastic plate (if you have glass or ceramic the diameter of your bowl, better) for a few hours. Object is to get the water out of the cabbage.

After some hours (can be overnight), massage the cabbage once again. Pour liquid from the cabbage into the mason jar. If you do not have a cup of water (1/4 full), add more water. Pour the water/brine into another container. Add the chopped cabbage to the mason jar. Cabbage will shrink, so put more outer leaves if it is not filling the jar. Add the optional horseradish leaf. Add the weight. Add the brine so liquid covers the cabbage. Add top fermentation lid. Place in a cool spot out of direct light. Wait as long as you can. Check every few days. Enjoy.

Sour Tomatoes

Unripened green tomatoes
Real Salt (or other sea salt)
Filtered or bottled spring water
Garlic cloves, cut out from peel (optional)
Pickling spices (optional — dill, peppercorns, mustard seed)
Horseradish leaf (optional)

1 mason jar (16 or 32 oz. large wide mouth mason jar, depending on how many green tomatoes)
1 glass weight *
Fermentation lid for the top **

Fill a mason jar with unripe green tomatoes. Add garlic and spices. Add a few teaspoons of sea salt. Add water. If you have a horseradish leaf, place it on the top. The horseradish leaf holds the rest of the contents in place. Put the weight on top. Put on fermentation lid. In a week or less, you will see the fermentation juices bubbling up to the top. The tomatoes are often ready in about a week or two. When they turn an olive, cloudy green instead of a brighter green, you are on way to owning delicious sour tomatoes.

Kimchi

Real Salt (or other sea salt)
Filtered or bottled spring water
1 daikon radish
A few long red radishes (I bought some at the Jeff’s Organic stand at the Highland Park Farmers Market)
1 to 2 carrots
1 – 2 cloves of garlic
1 – 4 hot red peppery chili (or more, depending on how hot you like your kimchi)
3 Tablespoons grated or diced small ginger root
1 cabbage or horseradish leaf (optional)

1. Mix a brine of about 4 cups of water and 2 tablespoons of sea salt. Stir well to dissolve salt.
2. Coarsely chop cabbage, slice carrots into small sticks, slice radishes and daikon into small coins, and let the vegetables soak in the brine covered with a plate and a large bottle of water (or any heavy weight) for a few hours or overnight.
3. Prepare spices: chopped garlic, chili peppers with seeds removed, chopped ginger.
4. Drain off liquid from soaking vegetables into another bowl. Mix the chili, ginger, and garlic into the vegetables. Pack the mixed vegetables into a mason jar, pressing down until the brine rises. Add the cabbage leaf if you have and then a glass weight. Cover with the fermenting lid. Check every few days. Enjoy.

Adapted from Wild Fermentation by Sandor Ellix Katz

About Fermenting in General

For healing benefits, consume some of the juice of your ferments each day.

Once you have the basics down for sauerkraut or kimchi, you can try experimental combinations, such as cabbage + carrots + turnip + fresh ginger root.

Of the three recipes posted here, sour tomatoes is the easiest. You just add green tomatoes to a brine, with optional garlic or spices. But not everyone has an abundance of green tomatoes in the fall.

———-
* Glass weights: Type “fermentation glass weights” into a search engine or into Amazon, and you will find plenty. Many are less than $20. I like the ones with the little knobs, but the ones without have the advantage of taking up less space.

** Fermentation lids: look at Jillmo Fermentation kit, available on Amazon. Eden Farmhouse Essentials also makes these lids. You won’t have to burp your ferments every few days if you use these lids. Put them on and just watch as the ferment bubbles up in a few days.
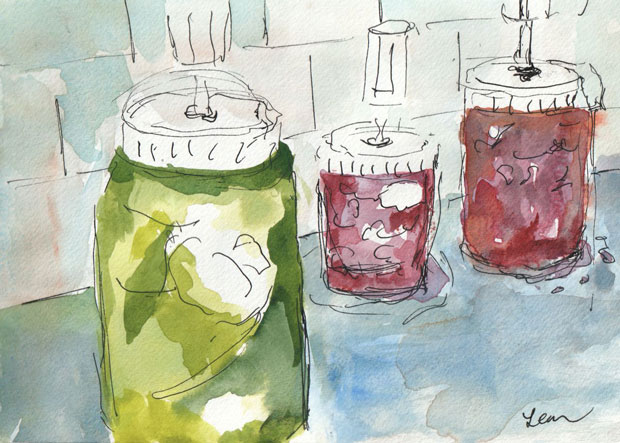
ferments in my kitchen

Pickling Pickles

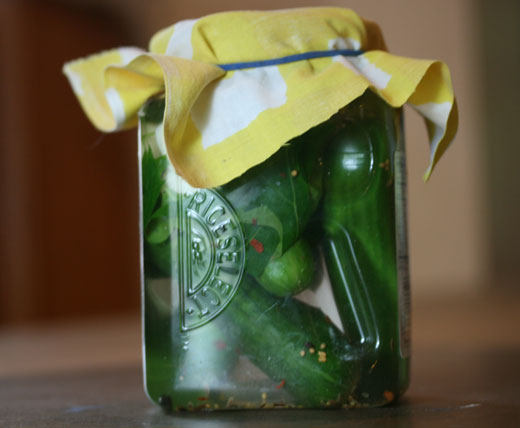
pickles in a container fermenting
Pickles in a Container Fermenting with Spices, Garlic and Brine

It sounds daunting, making your own pickles, but the trick is assembling the ingredients and equipment. The rest is throwing it together and patience. You don’t want to use vinegar in your pickles – the whole idea is to create your own fermentation, so you can reap the benefits of the good bacteria from pickling. This recipe was inspired by the Sour Pickles recipe in Sandor Ellix Katz’s book Wild Fermentation.

Ingredients and Equipment

  • 1 large jar or jug or plastic bucket (just has to be big enough to fit your pickles)
  • 6 medium-sized pickling cucumbers (you can use as many as fit in your container)
  • 2 tsp. Ball Pickling Spice (or make your own with black peppercorns, dill seed, cardamom seed, mustard seed, allspice, coriander, bay leaves)
  • 3 – 6 cloves of garlic, peeled and sliced in half
  • 4 tsp. sea salt
  • water – enough to cover the pickles
  • grape or oak or horseradish or sour cherry leaves (to keep the cucumbers crisp – the tannin in the leaves is supposed to help) – I used oak leaves
  • 1 piece of cloth and 1 rubber band
  • 1 small lid + 1 weight, such as a rock or two to weigh down the pickles (I updated this recipe with this recommendation)

Place the spices, leaves, garlic and cucumbers in the container. Sprinkle at least 3 tsp. of sea salt on top. Pour water into the container so that it covers the pickles. If you want, you can then add some more salt. Sandor Katz suggests covering the pickles with a plate and a weight; since I don’t have a plate that small (he was using a big bucket instead of a jar), I used a smaller jar lid from a different jar and two rocks to weigh down the pickles. Cover with cloth and rubber band.

Check the pickles every day. If a little mold is growing on the top of the pickles, wash off the mold. The pickles may be ready in a week or in two. My first batch tasted a bit like a mild sour pickle after one week of soaking in the brine and spices.

• • •

If you like homemade pickles, maybe you will enjoy homemade sauerkraut, too.

Homemade Sauerkraut

Basic sauerkraut isn’t that hard. You just need sea salt, cabbage and some good glass or ceramic containers. And the patience to wait about two weeks.

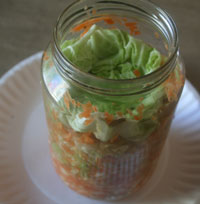
coleslaw sauerkraut
This was my first kraut, which had chopped garlic and carrots in addition to the cabbage. Note the large cabbage leaf on top.

Ingredients and Supplies

  • Cabbage – any kind will do
  • Sea salt – a few sprinkles for every time you chop up some cabbage
  • 1 large glass jar
  • 1 small glass jar that will fit inside the large jar – I used a baby food jar.
  • Knife, cutting board, large bowl

How to Prepare the Sauerkraut

Put aside one or two large, outer leaves from the cabbage for later. Chop the cabbage. When the cutting board is full of cabbage, put it in the large bowl and sprinkle on some sea salt. Each time you fill the cutting board with cabbage, sprinkle on some sea salt. If you prefer amounts, in his book Wild Fermentation, Sandor Katz suggests 3 tablespoons per 5 pounds of cabbage.

According to Sandor Katz, you can’t use table salt, as it may not work in the fermentation process. More about sea salt vs. table salt on this article. You can buy sea salt in Highland Park at Anna’s Health Food Center for about $3.

Once the chopped cabbage is in the bowl, you press it with your hands until the water from the cabbage starts to leak out. In one video I watched, the sauerkraut preparer used a potato masher to hasten the process. In another, the person wore plastic gloves while pressing the cabbage. Next, press the cabbage into the large glass jar. Take the outer leave(s) and press them on top of your chopped cabbage. If the brine doesn’t cover the chopped cabbage, add a little water + salt to the top so it does cover. Press your small baby food jar bottle on top of the cabbage. If you can’t cover your large jar with the cap (and you probably won’t be able to until the cabbage has settled more or has been eaten a bit), cover it with a cloth and a rubber band.

Place your jar on a high shelf in your kitchen or in your basement or some other cool, dry place. Do not refrigerate yet – that will stop the fermentation process. Feel free to try the mixture every few days. We ate some after one week, and then we ate the rest after two weeks. If you have the patience to wait a month, maybe it will be even better then!

Benefits of Fermentation

Sandor Katz writes: “Fermentation not only preserves nutrients, it breaks them down into more easily digestible forms.” Some of you may have heard of priobiotics and its many benefits — think of fermentation as creating your own probiotics. A Finnish study found fermented cabbage could be even healthier than raw or cooked cabbage for fighting cancer.

For more information:

Fermenting Experimenting

ferments in my kitchen
I’ve been experimenting with pickling and fermenting vegetables. I tried a macrobiotic recipe that just called for sea salt, water and kombu (seaweed) with vegetables, but I didn’t care for the result. Then I found a video that shows Sandor Katz teaching how he makes fermented cabbage. I tried it. We will eat the results on Friday night or Shabbat (I don’t care to wait a whole month). Sandor Katz wrote a book called Wild Fermentation. I ordered the book, and maybe after I read it, I will be able to explain why fermenting vegetables is good for you.

Notes: you do most of the work one day, and then a week or a month later you enjoy the results. That works well for those who like to plan ahead. Also, you will note both these videos talk about mold growing in the fermenting process (and Steve’s shows him throwing it away). Hmm, guess one has to get used to such things! My vegetables didn’t produce as much liquid as Sandor’s. But his recipe with cabbage, carrots, garlic and onion already tasted much yummier than the cucumbers in seaweed I tried last week. I hope to update you next week with photos of my finished product.